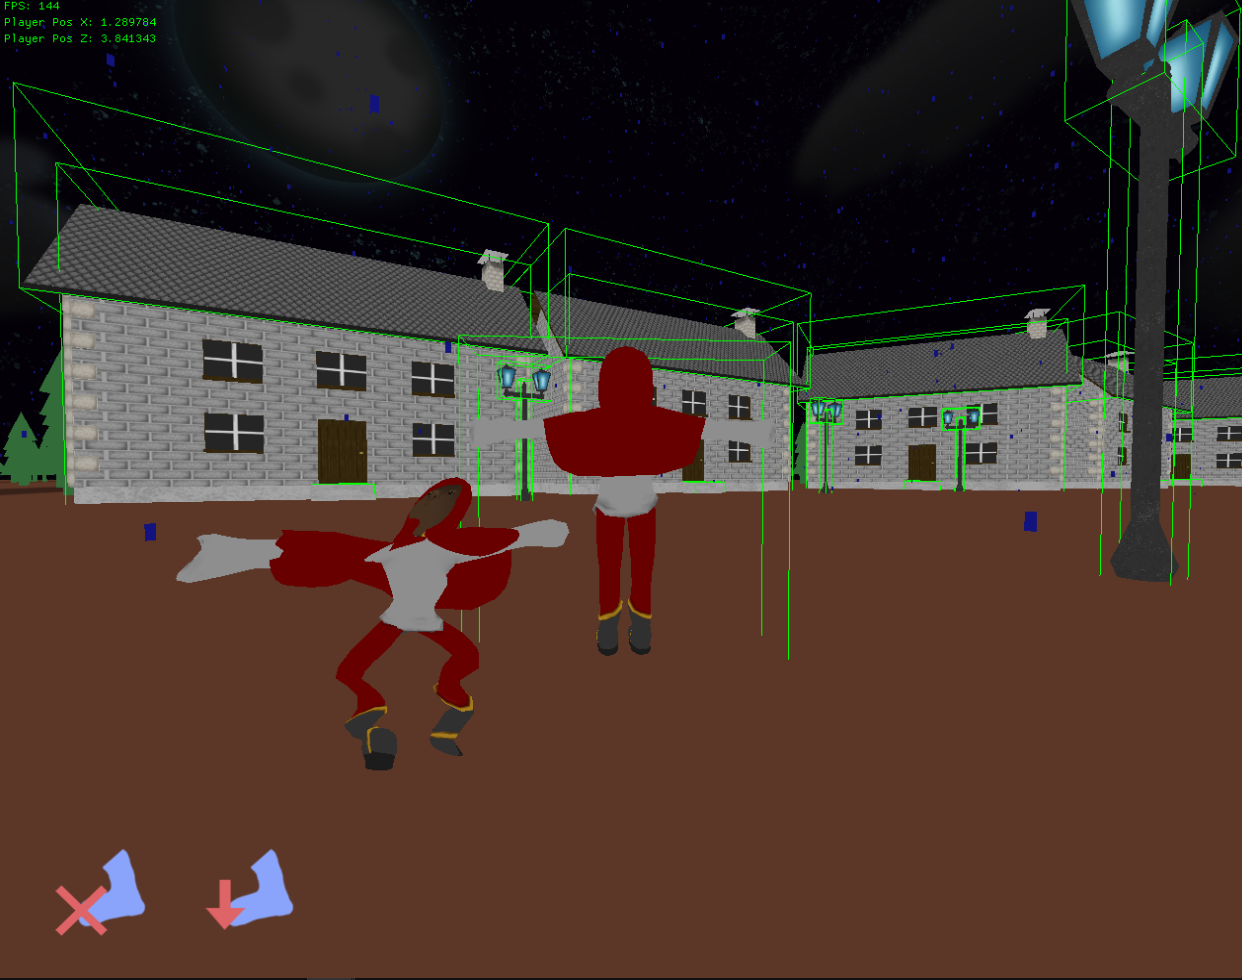
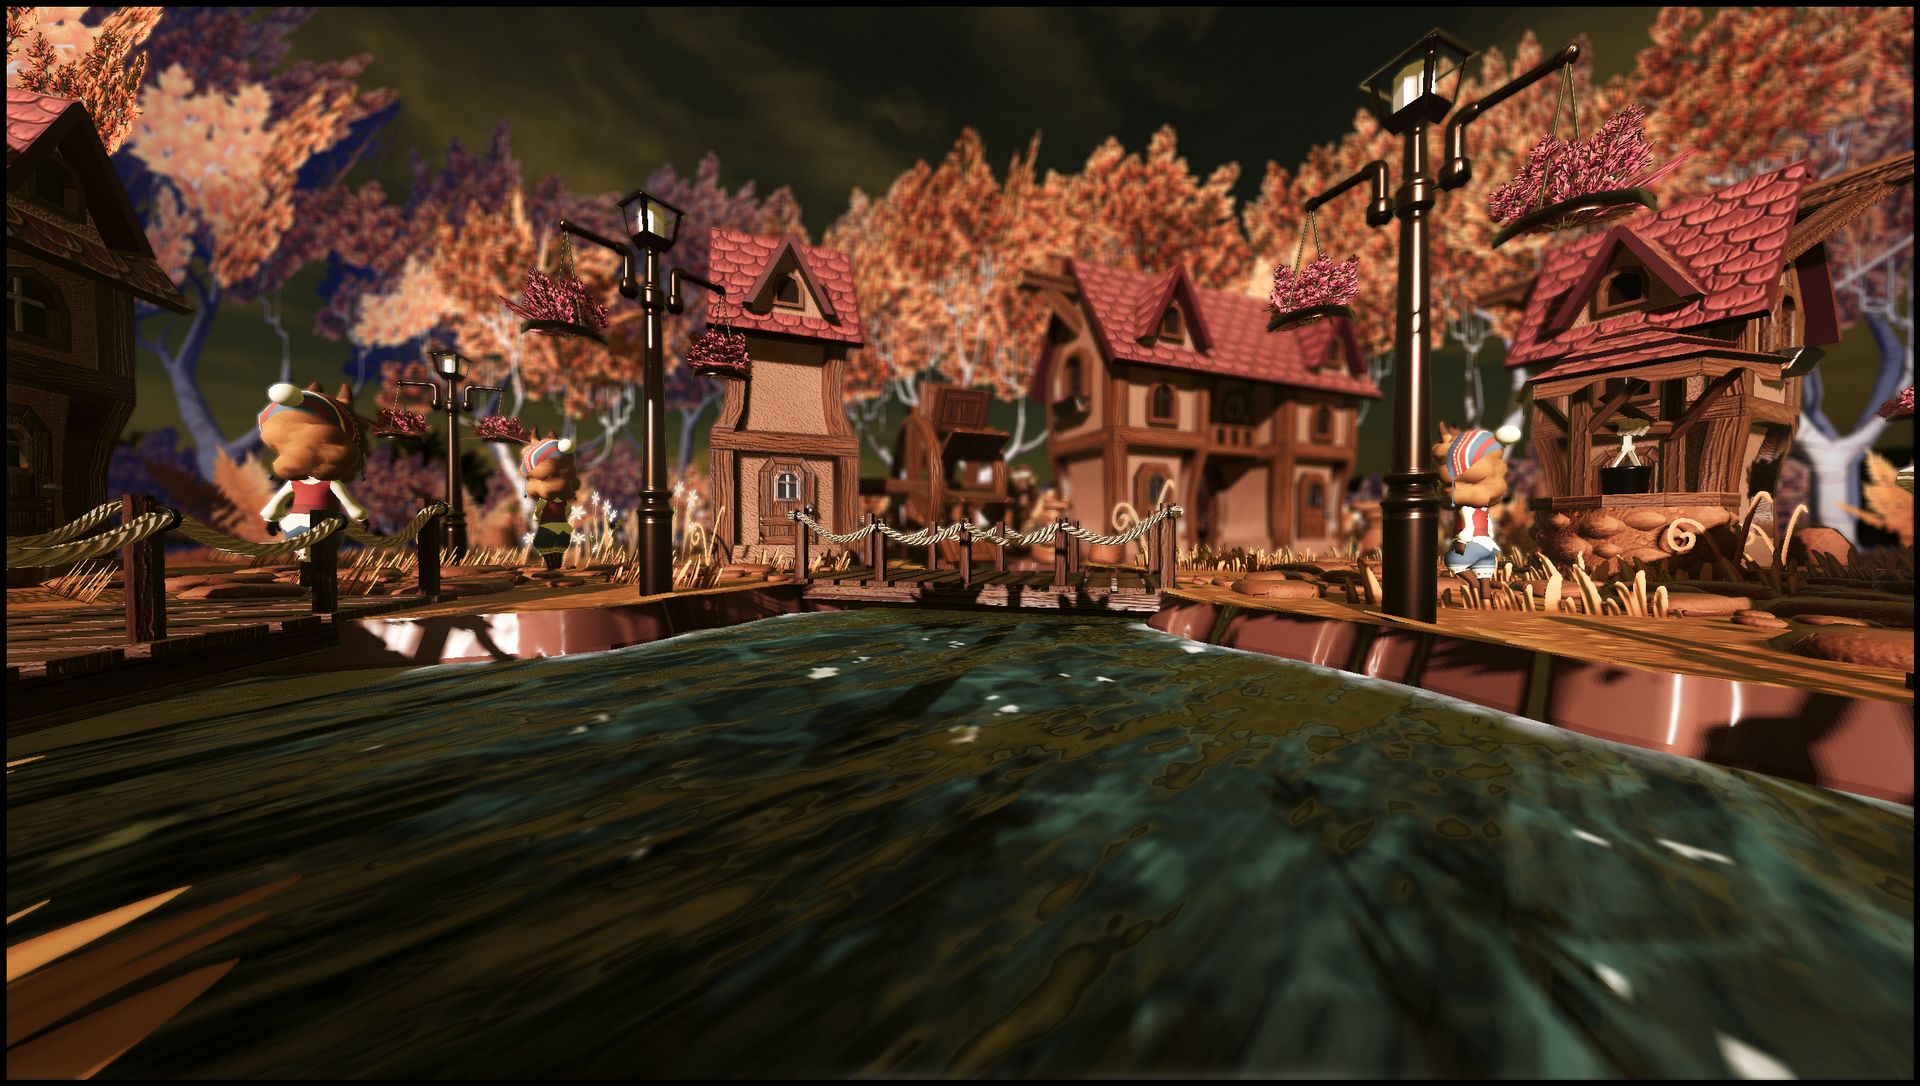
CO-OP online survival game for up to 4 players. The goal is to defend the small village from scary monsters that appear at night. Build defences and protect the cute llamas. A custom-made game engine was built using C++ and DirectX11 for this project by 10 students.
- Advanced animation system:
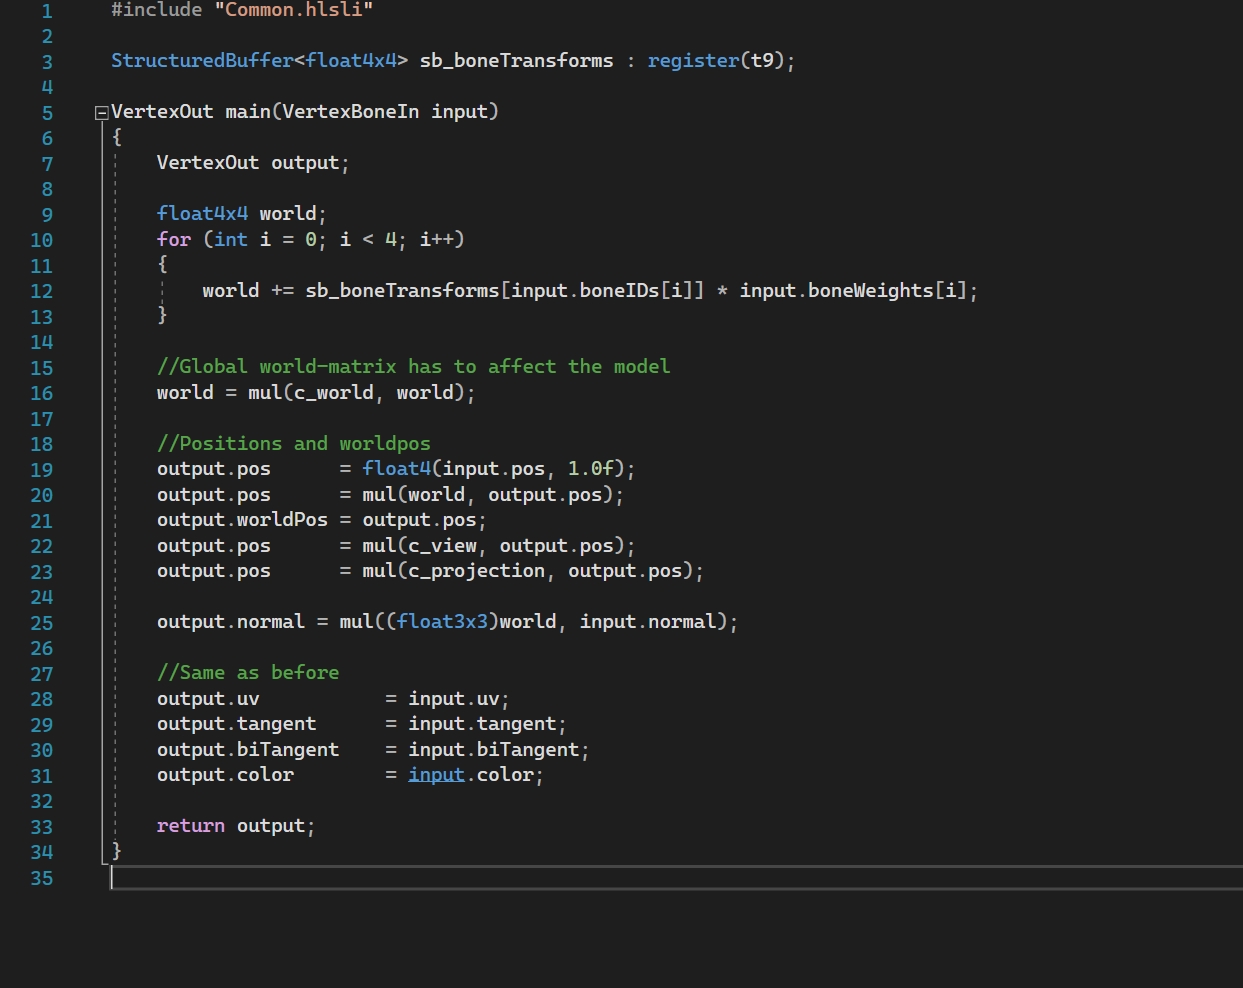
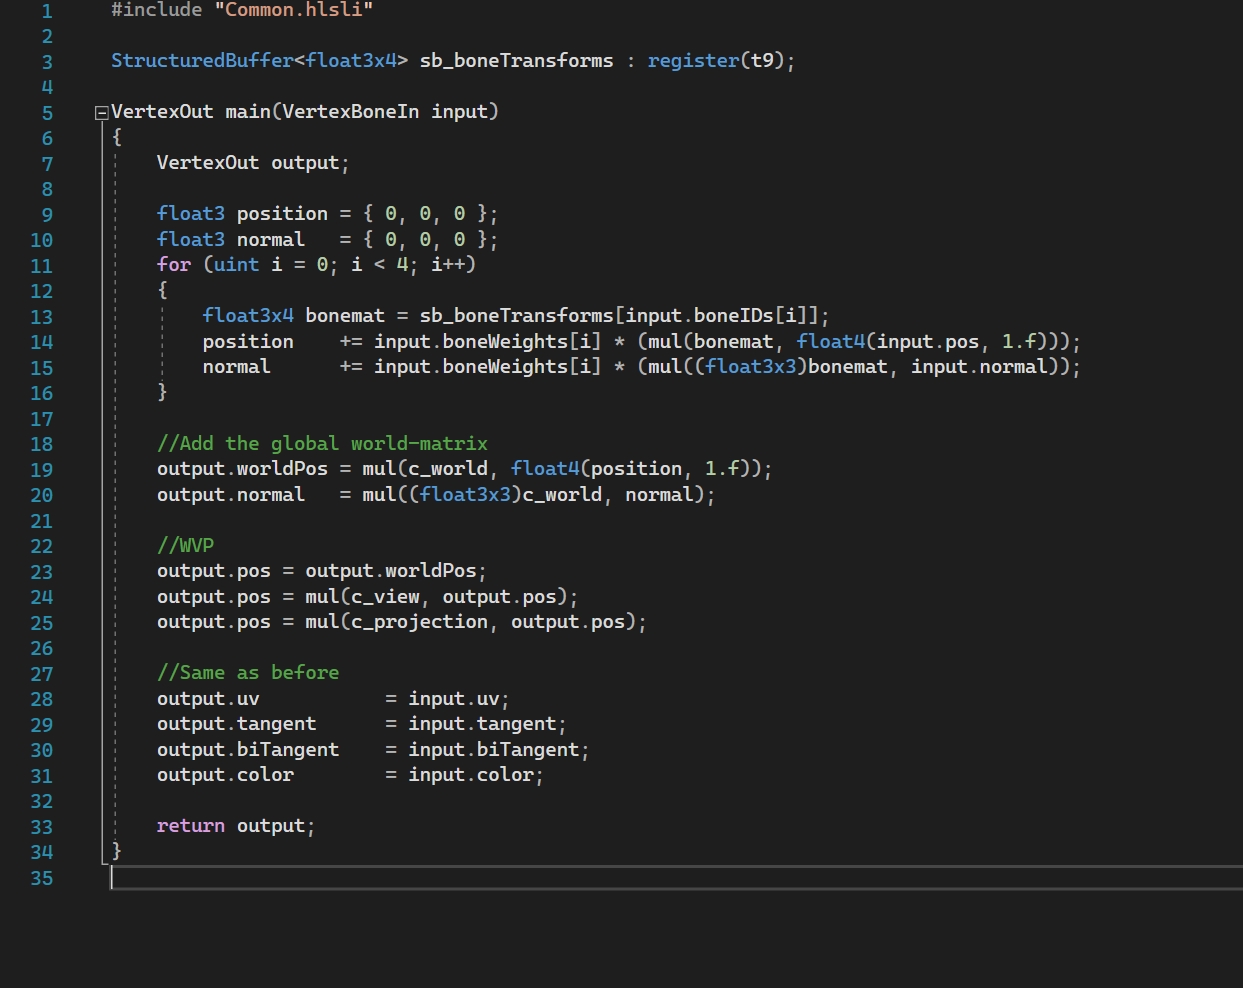
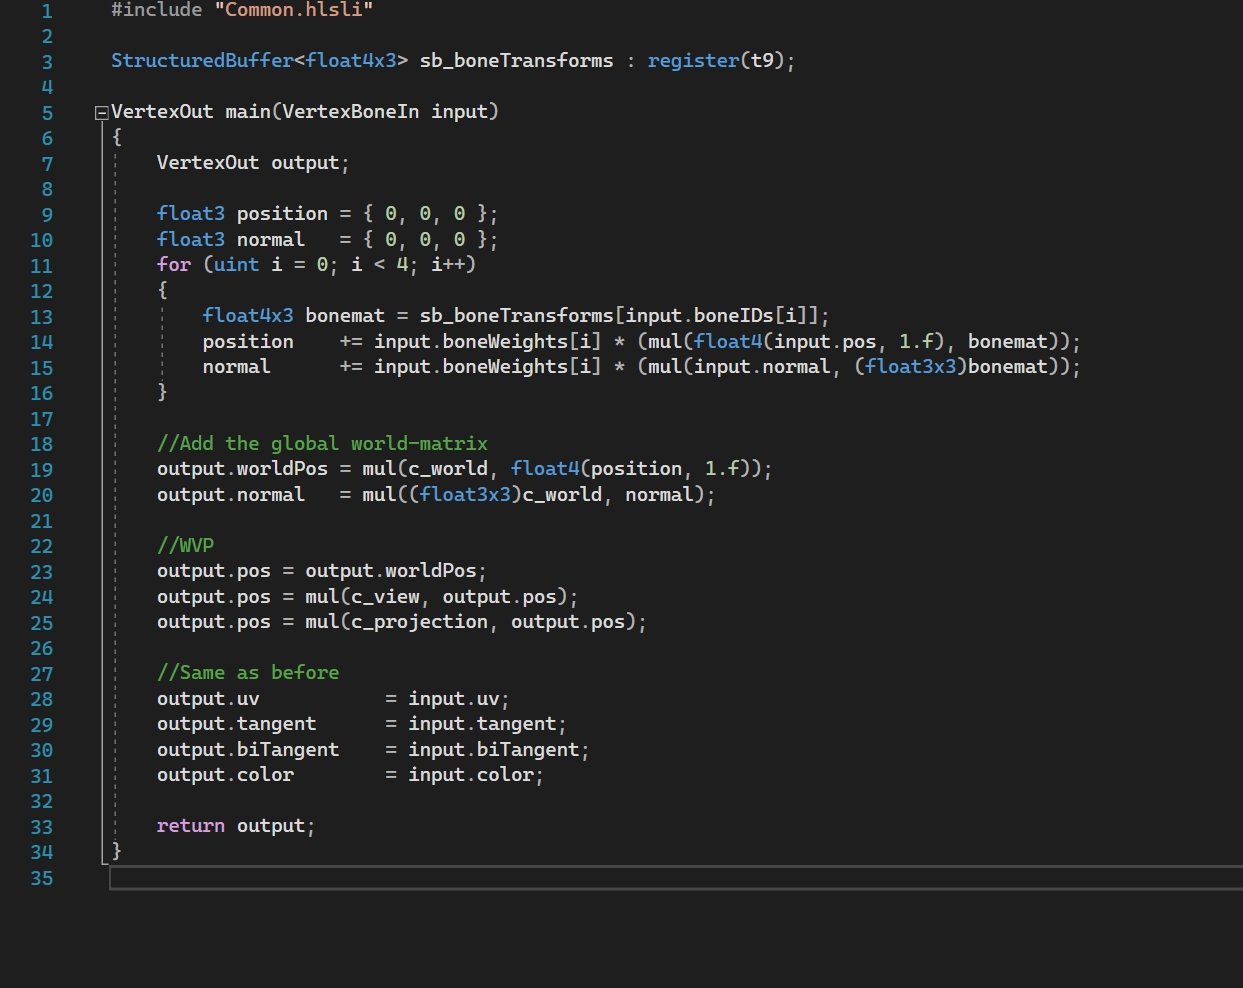
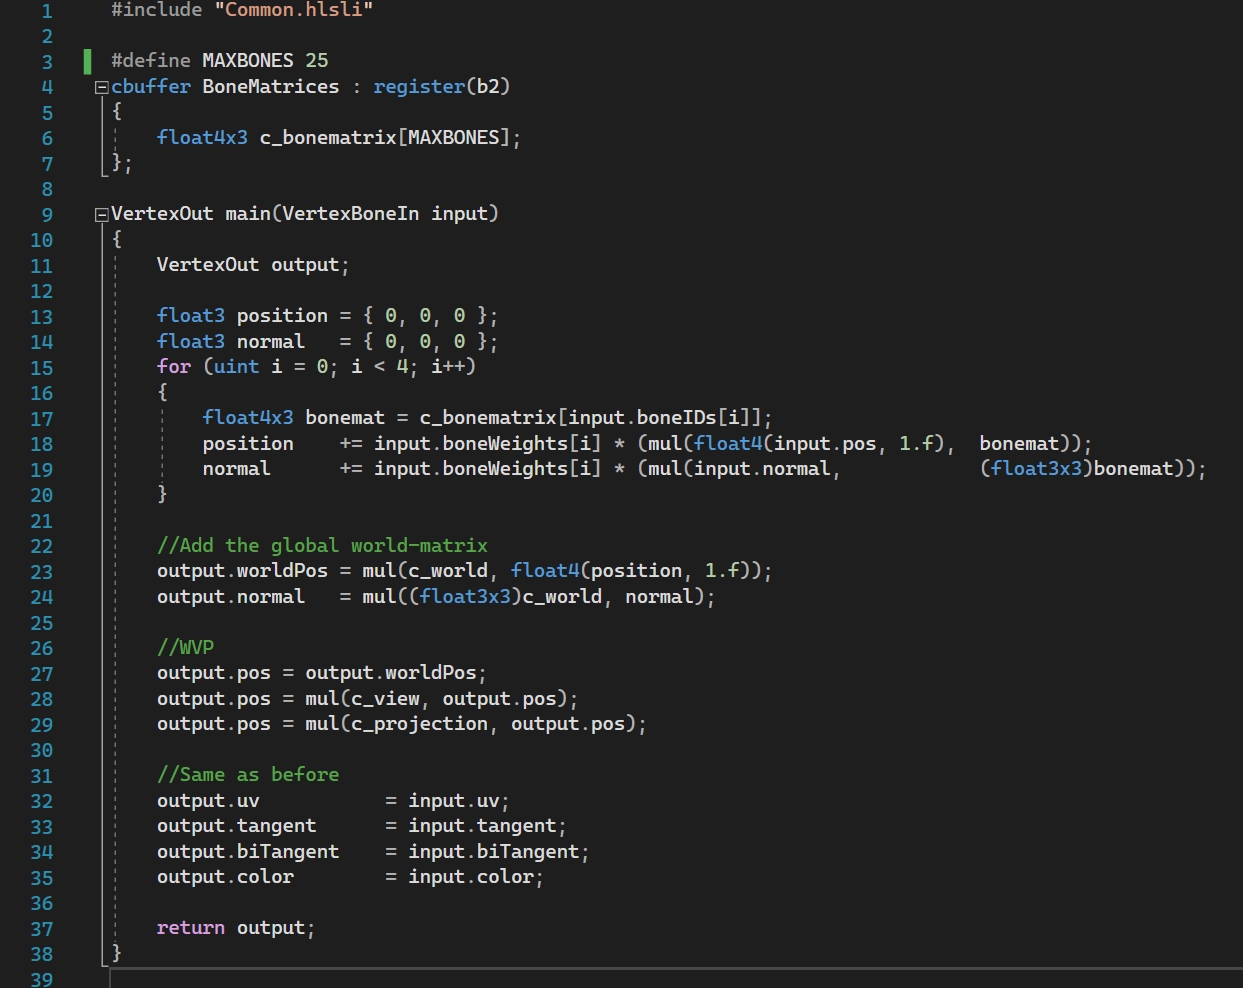
* Skeletal animation
* Blending 2 animations
* Partial blending
- Model loading (submeshes supported)
- Resource manager
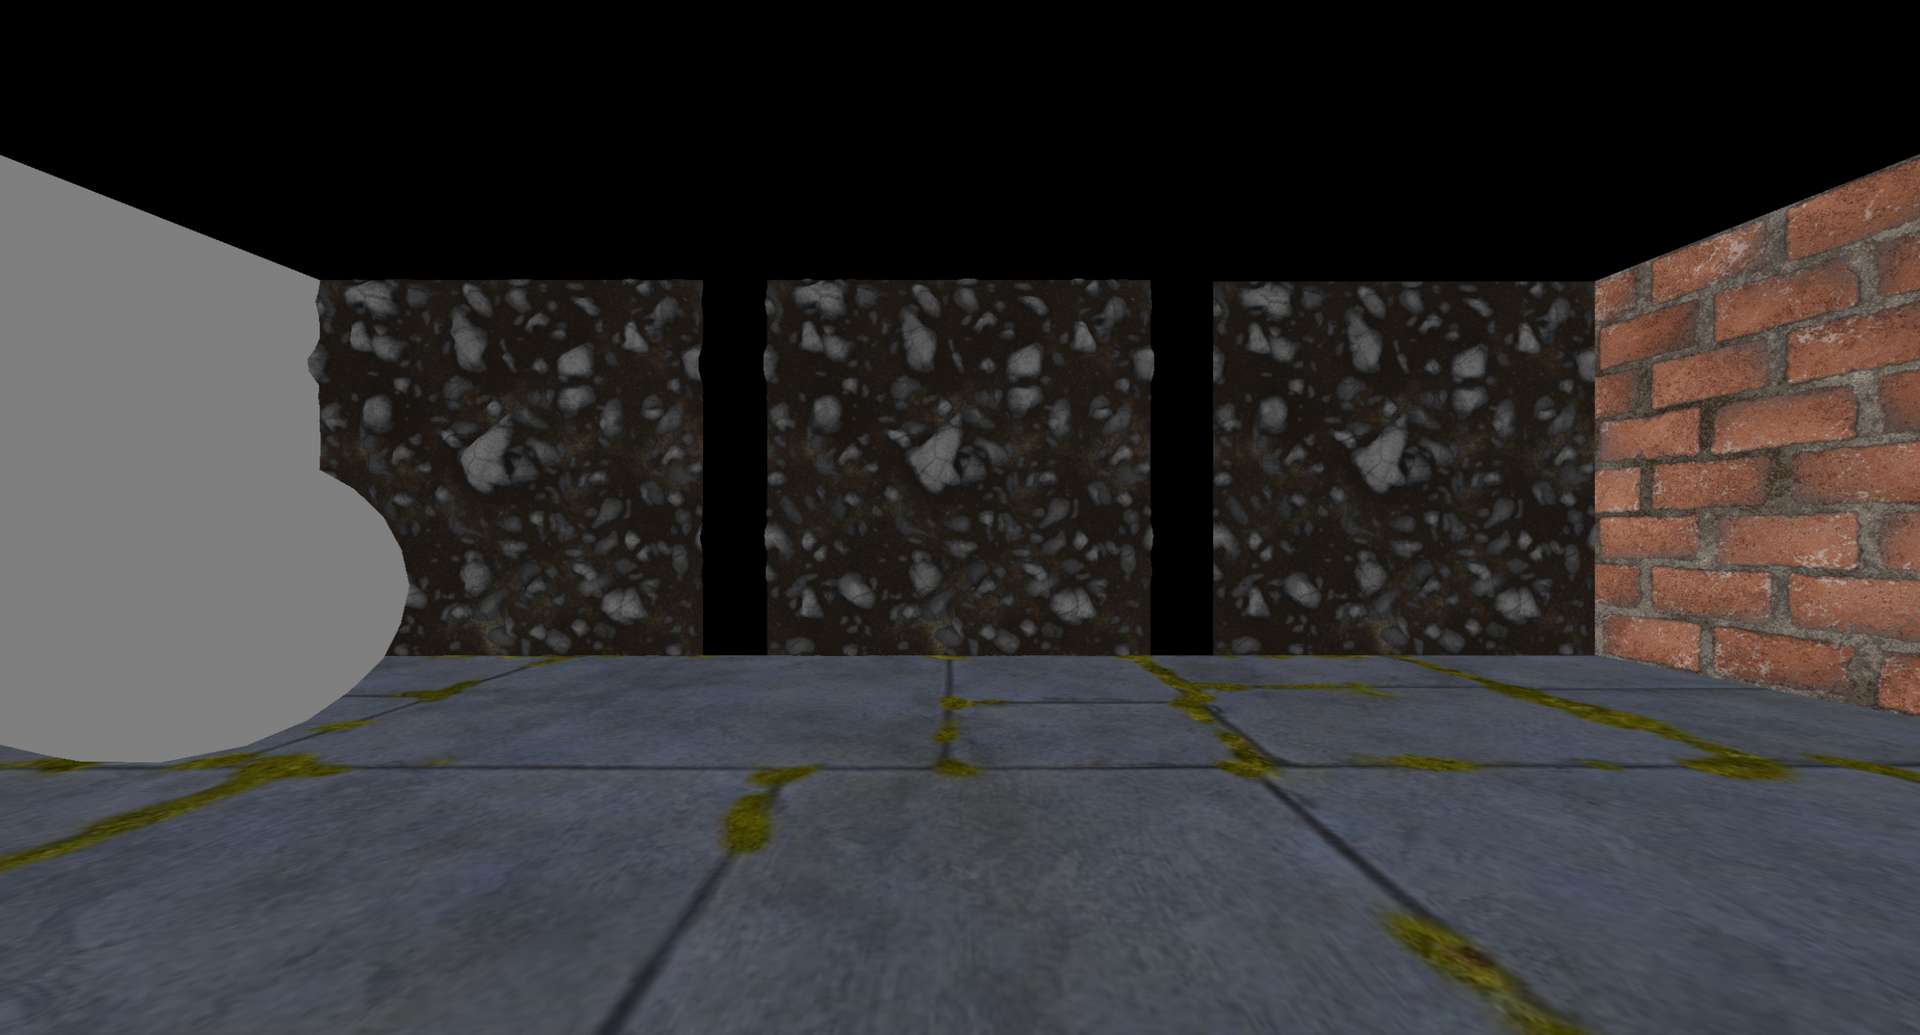
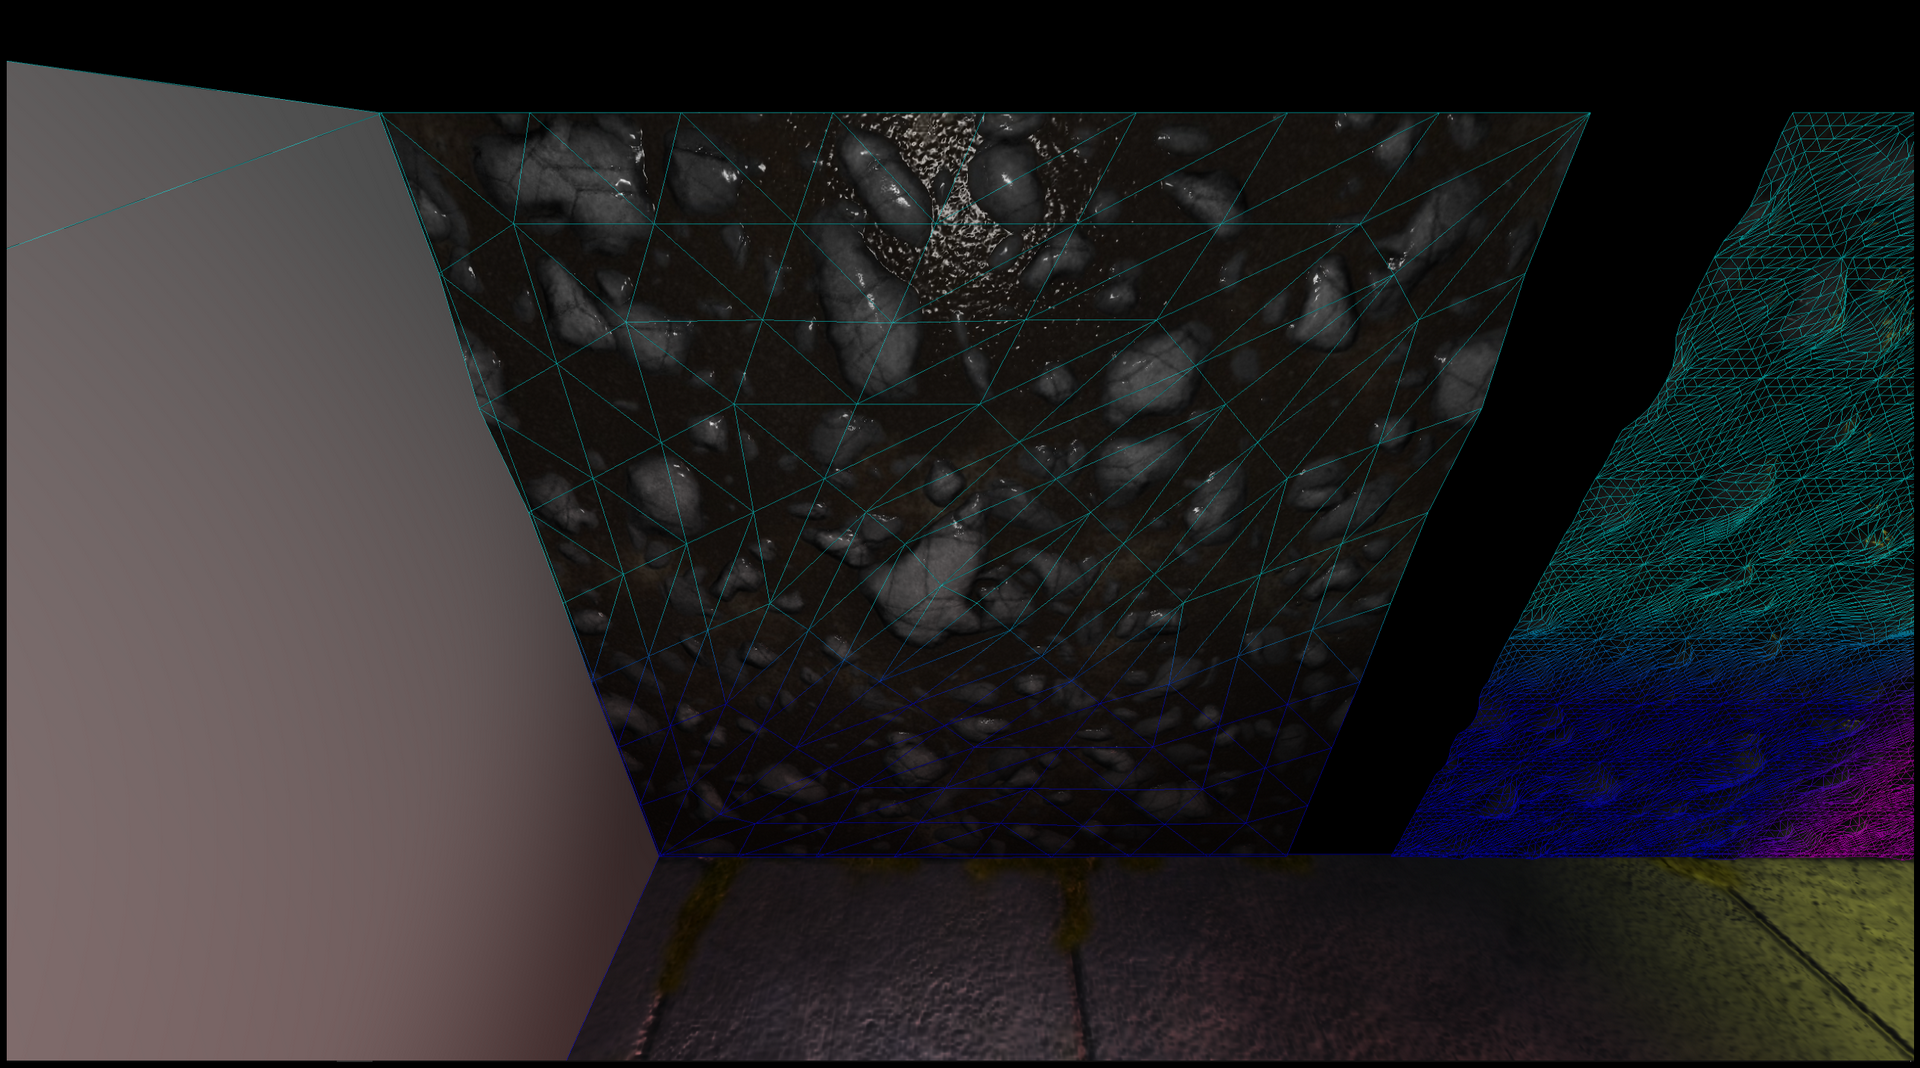
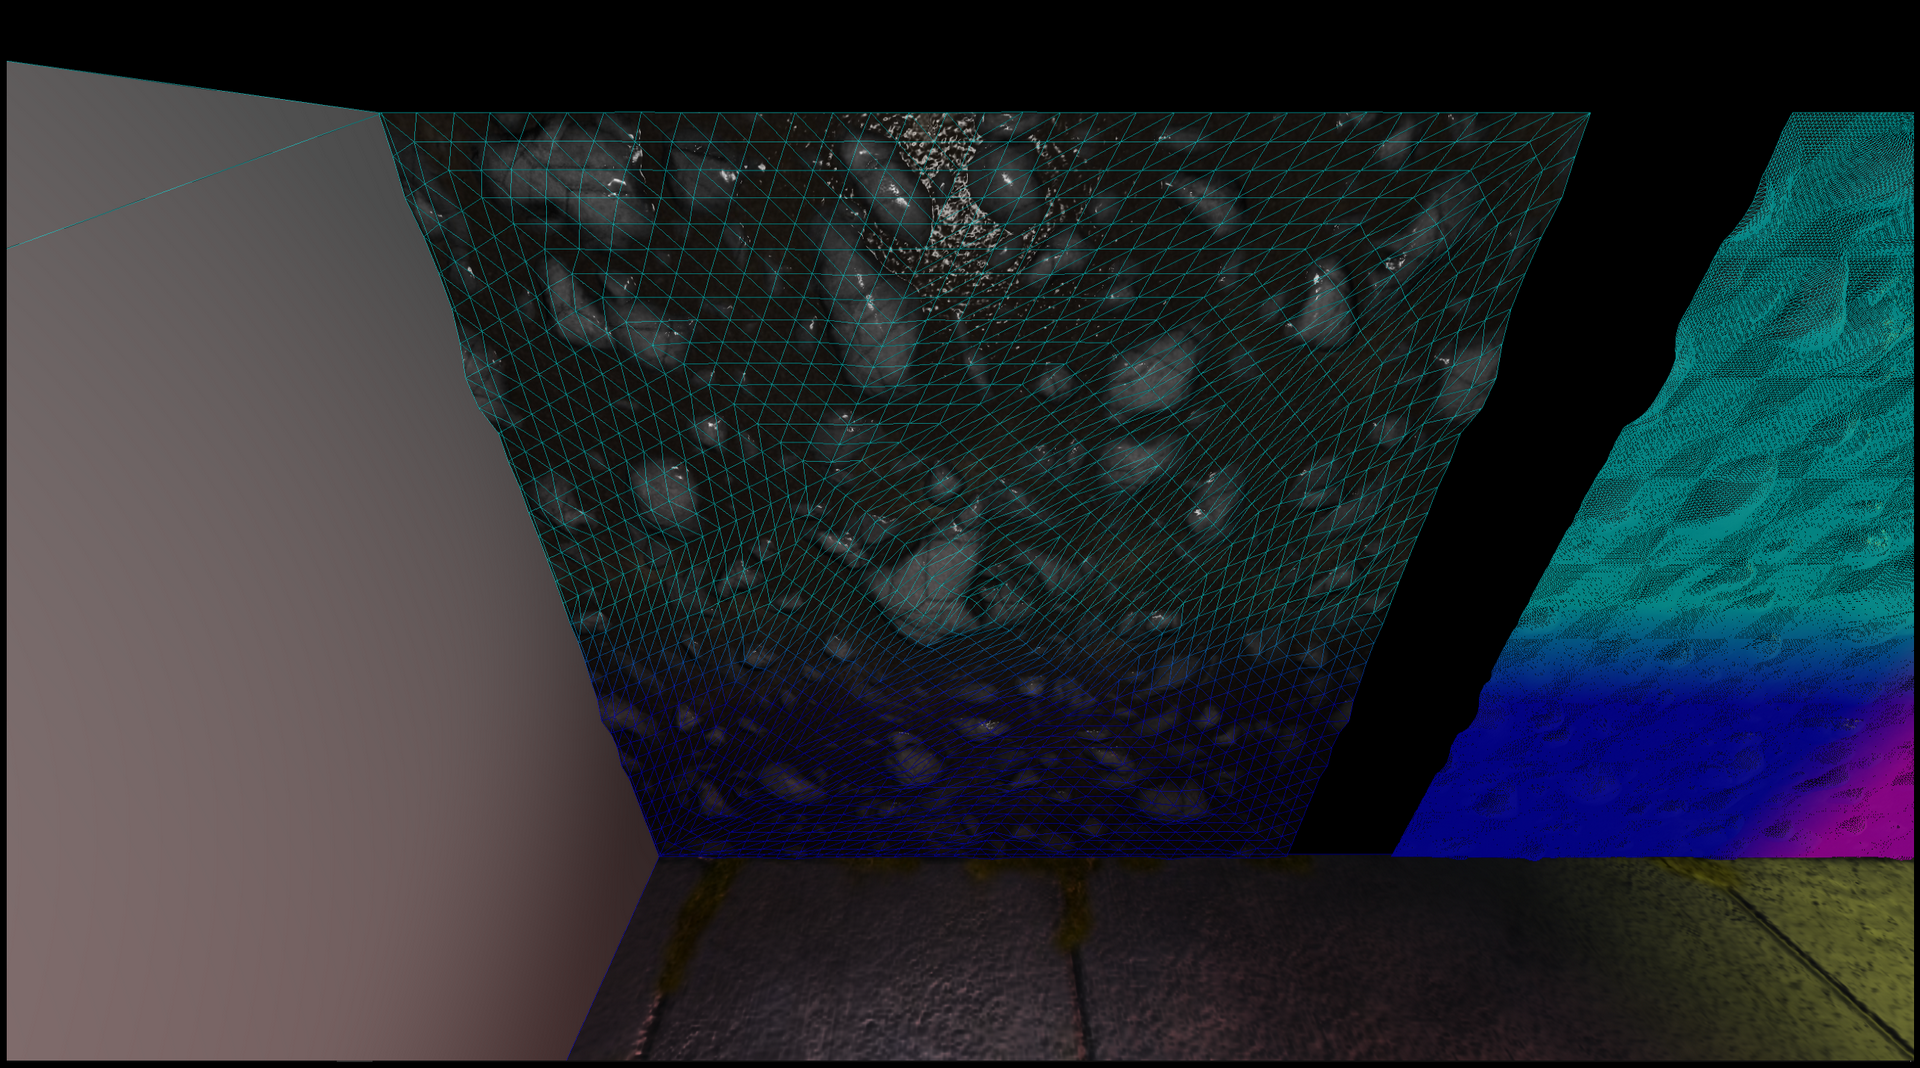
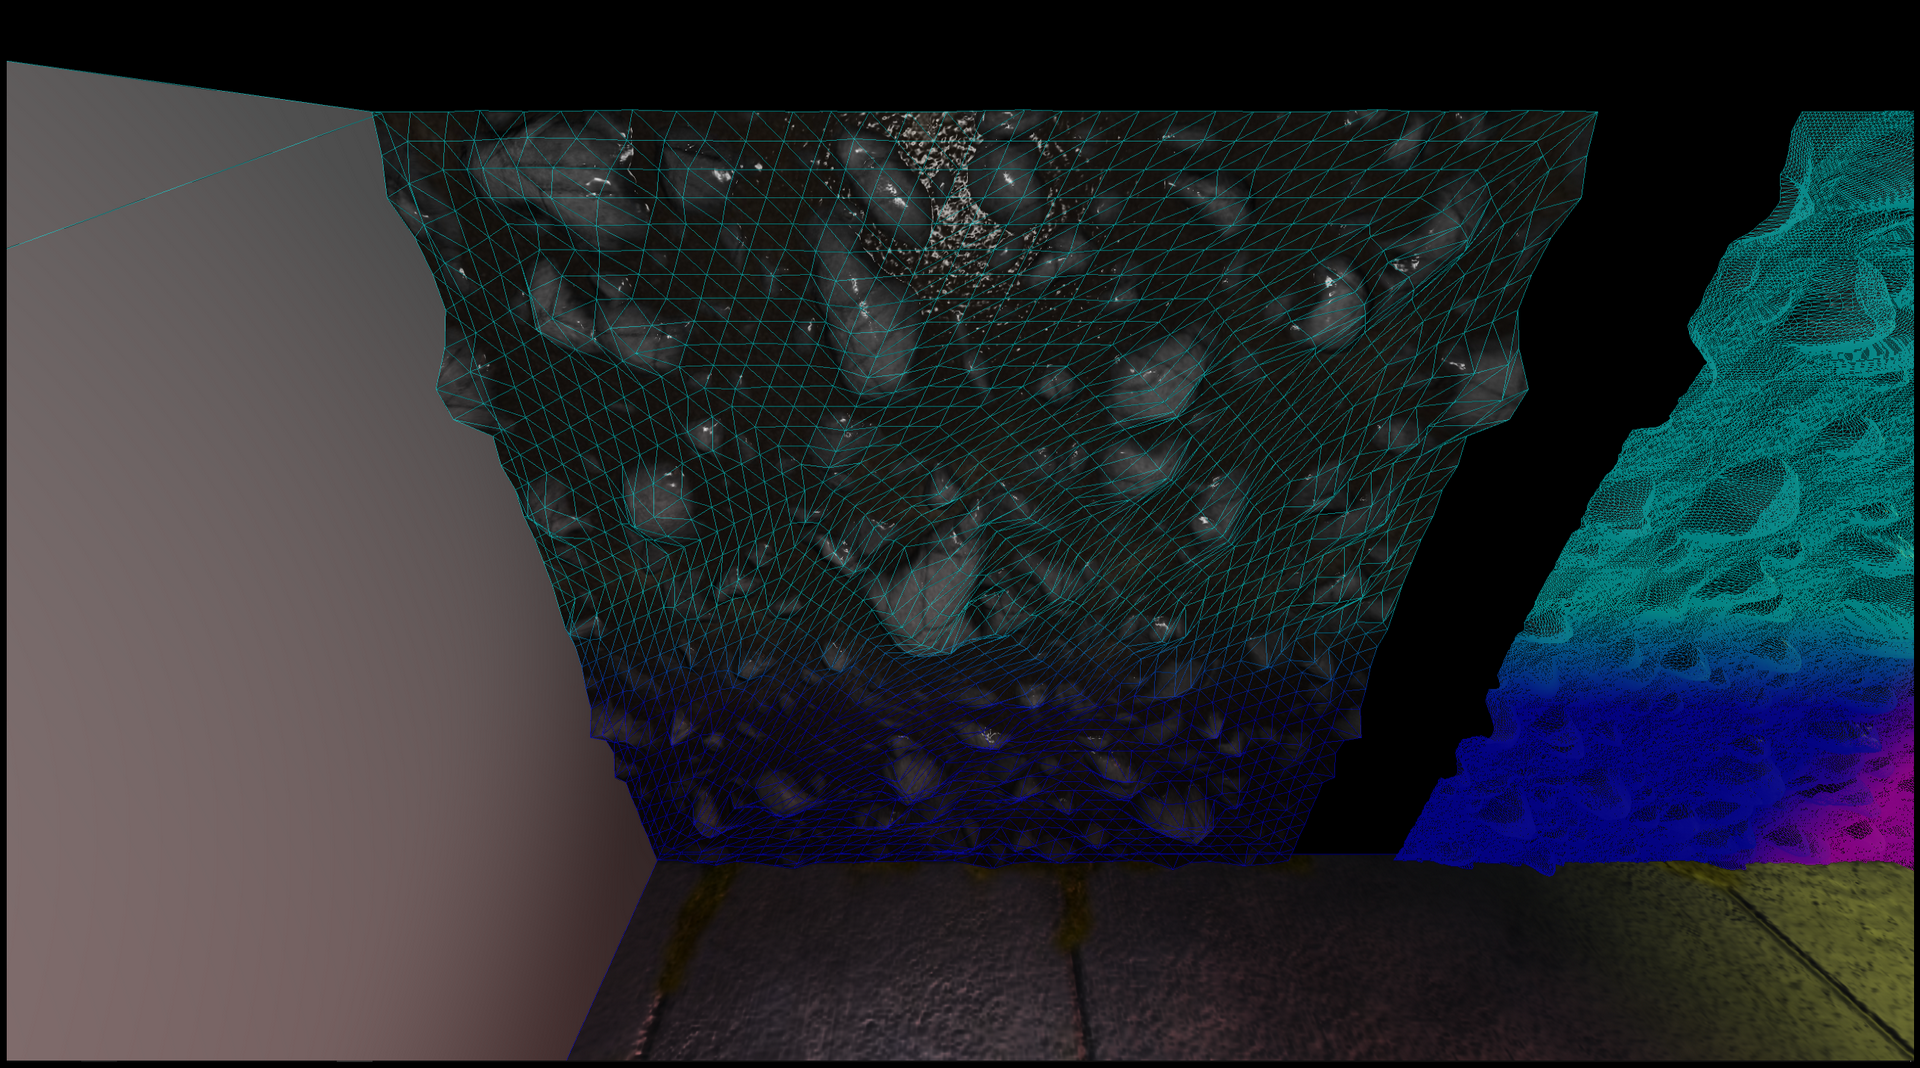
- Mipmapping
- Larger defences and hover effect
- Data Oriented Design with ECS (EnTT)
- Agile methodology (scrum)
- Animation system
- Smart pointers (memory management)
- HacknPlan (planning)
- Hybrid work (some home, others at work)
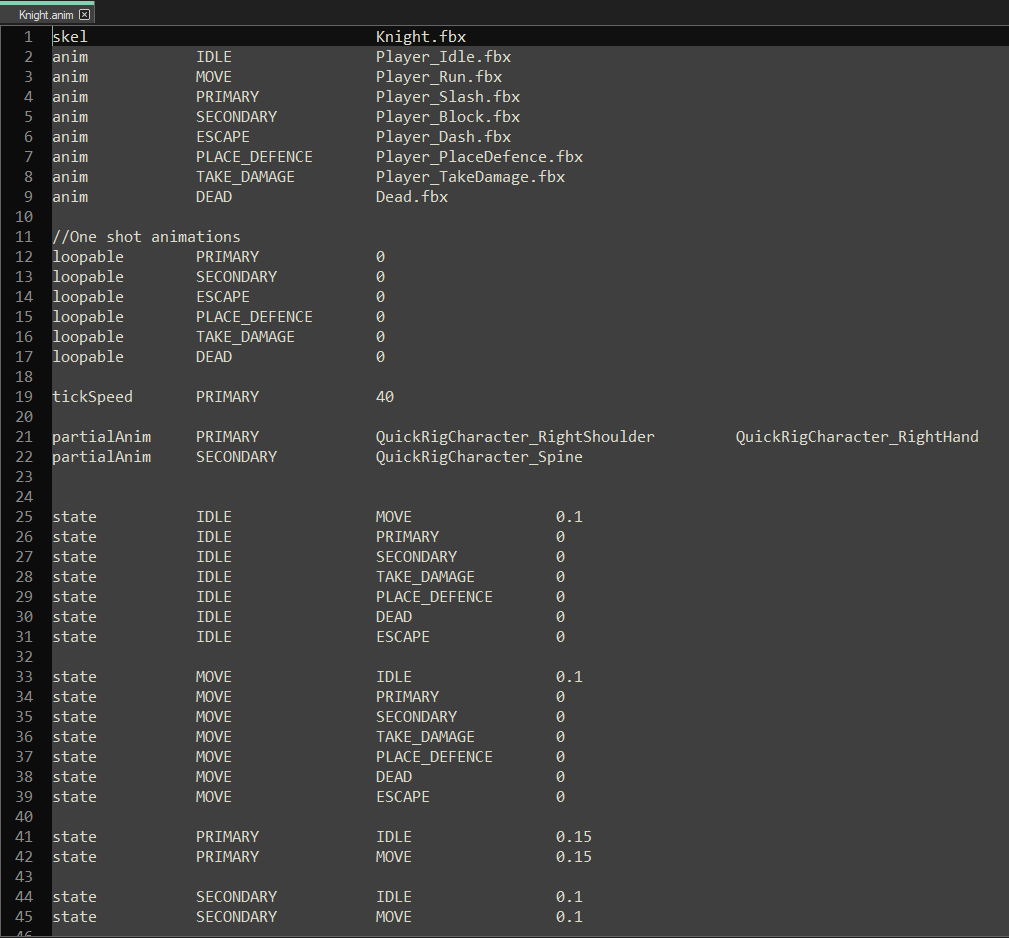
The goal with this feature was to save time when tuning the animation behaviour for the characters. This made it possible to change values without recompiling the whole game.
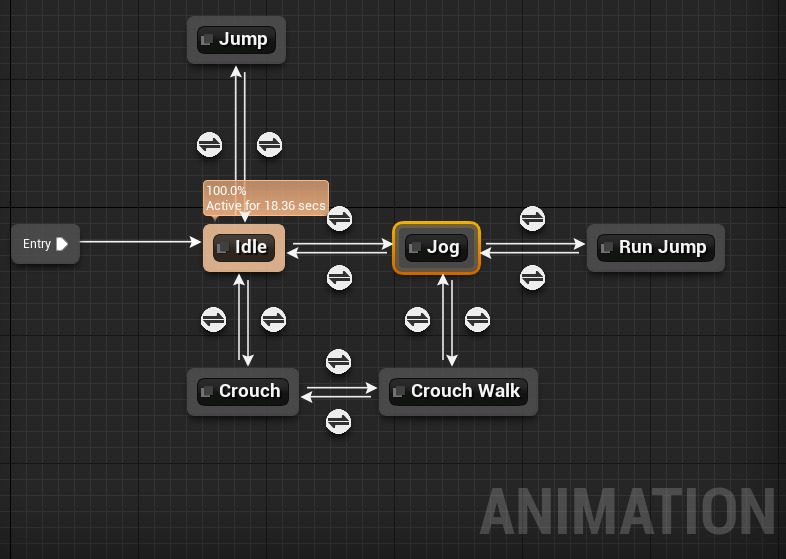
It was heavily inspired by the animation blend tree that is used in the Unreal Engine which can be seen in the second image in the slideshow.
This implementation featured a bunch of options:
This system was pretty flexible but had some limits. With many blendstate it could get a bit confusing and hard to read. As for future projects it would be better to make a visual blend tree instead of a text based parser. This could make it more clear and easier for a designer to work with.
This video show my implementation of linear blending between two animation. It makes the movement feel smooth but still very responsive.
This technique makes it possible to play two different animations at the same time on different parts of the body. One animation controls the lower body such as an idle or running animation while another is played on the upper body like an attack animation.
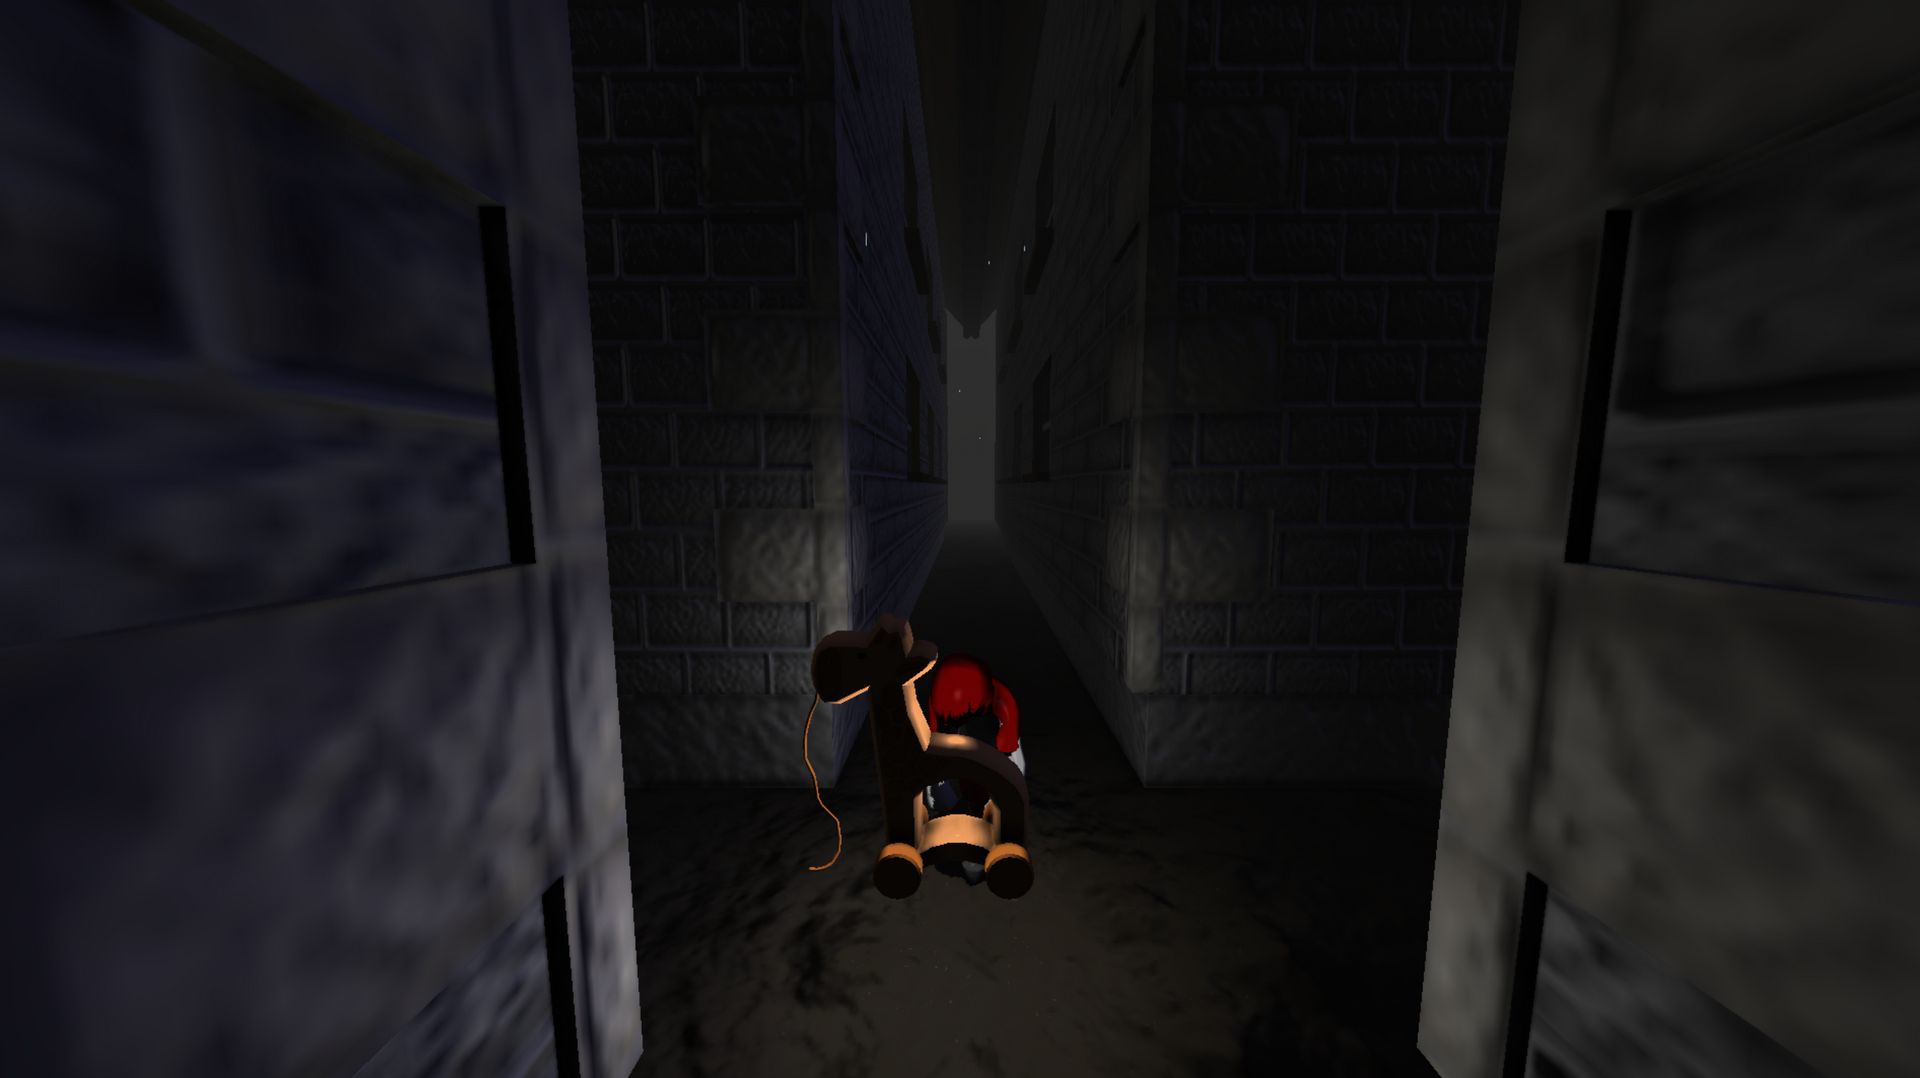
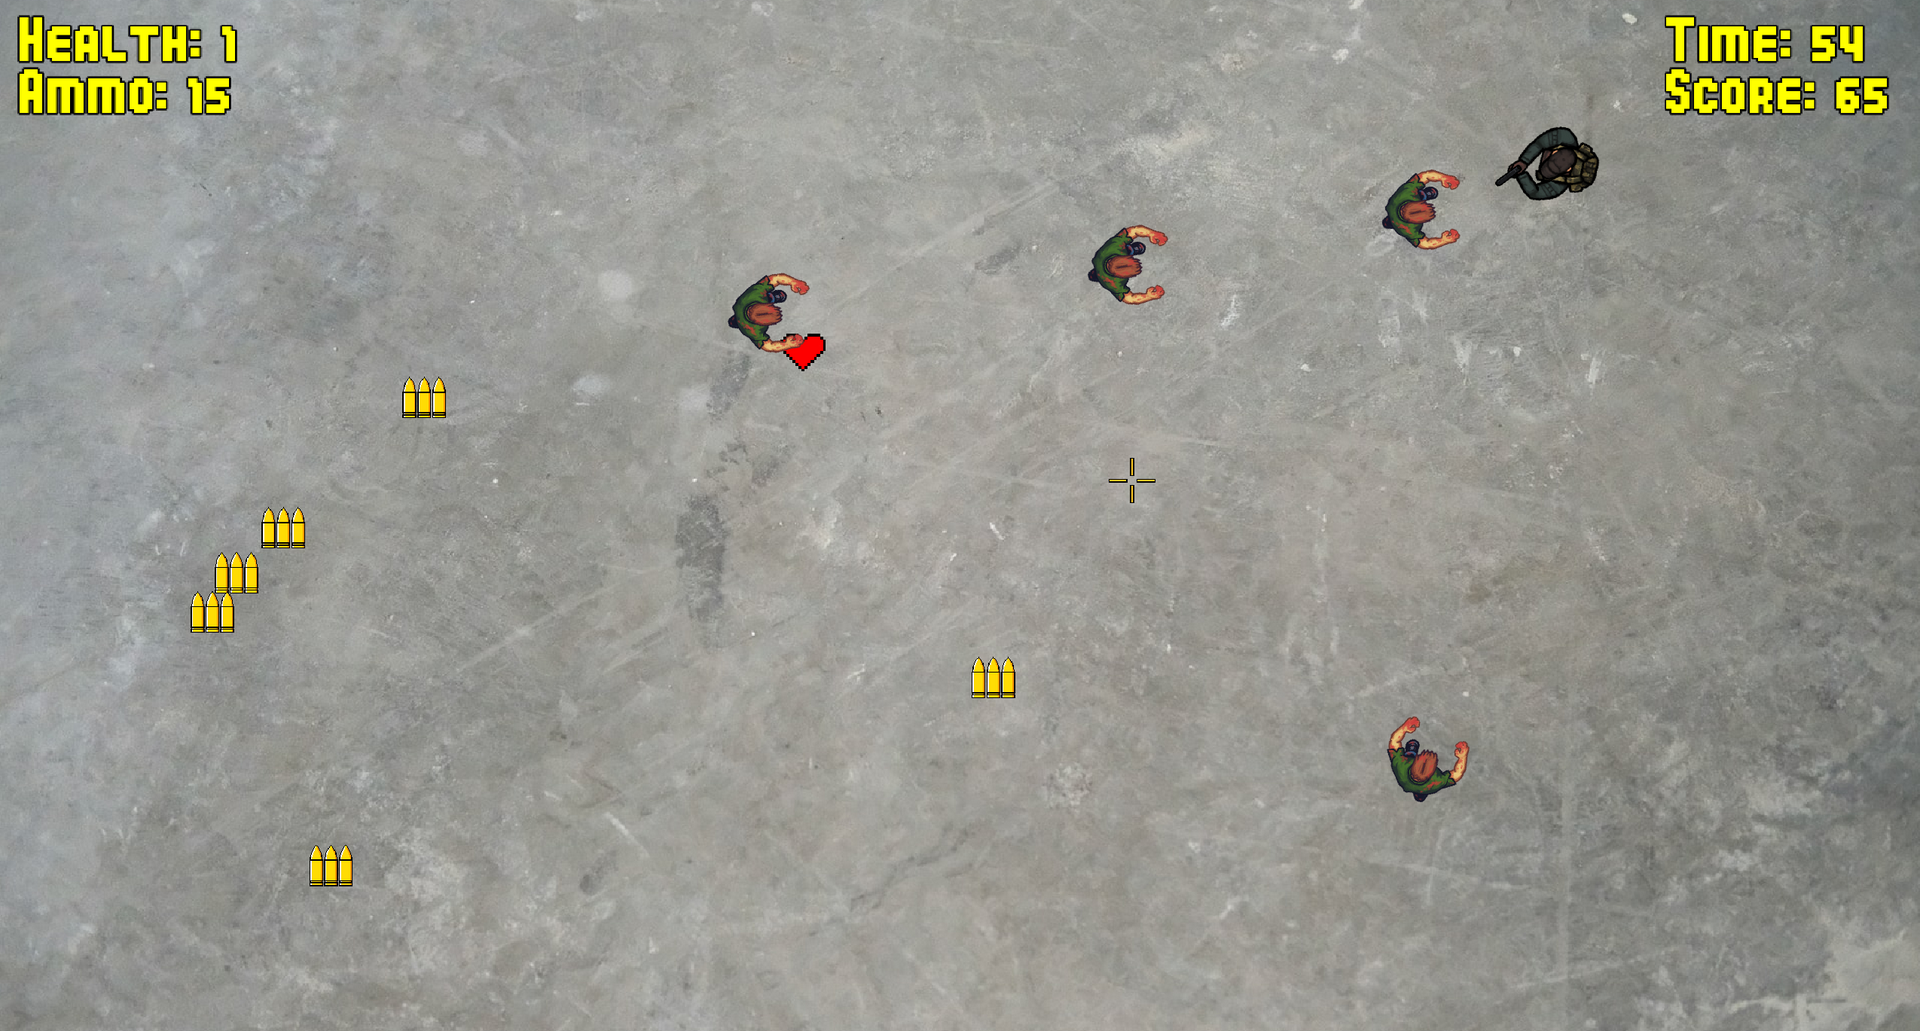
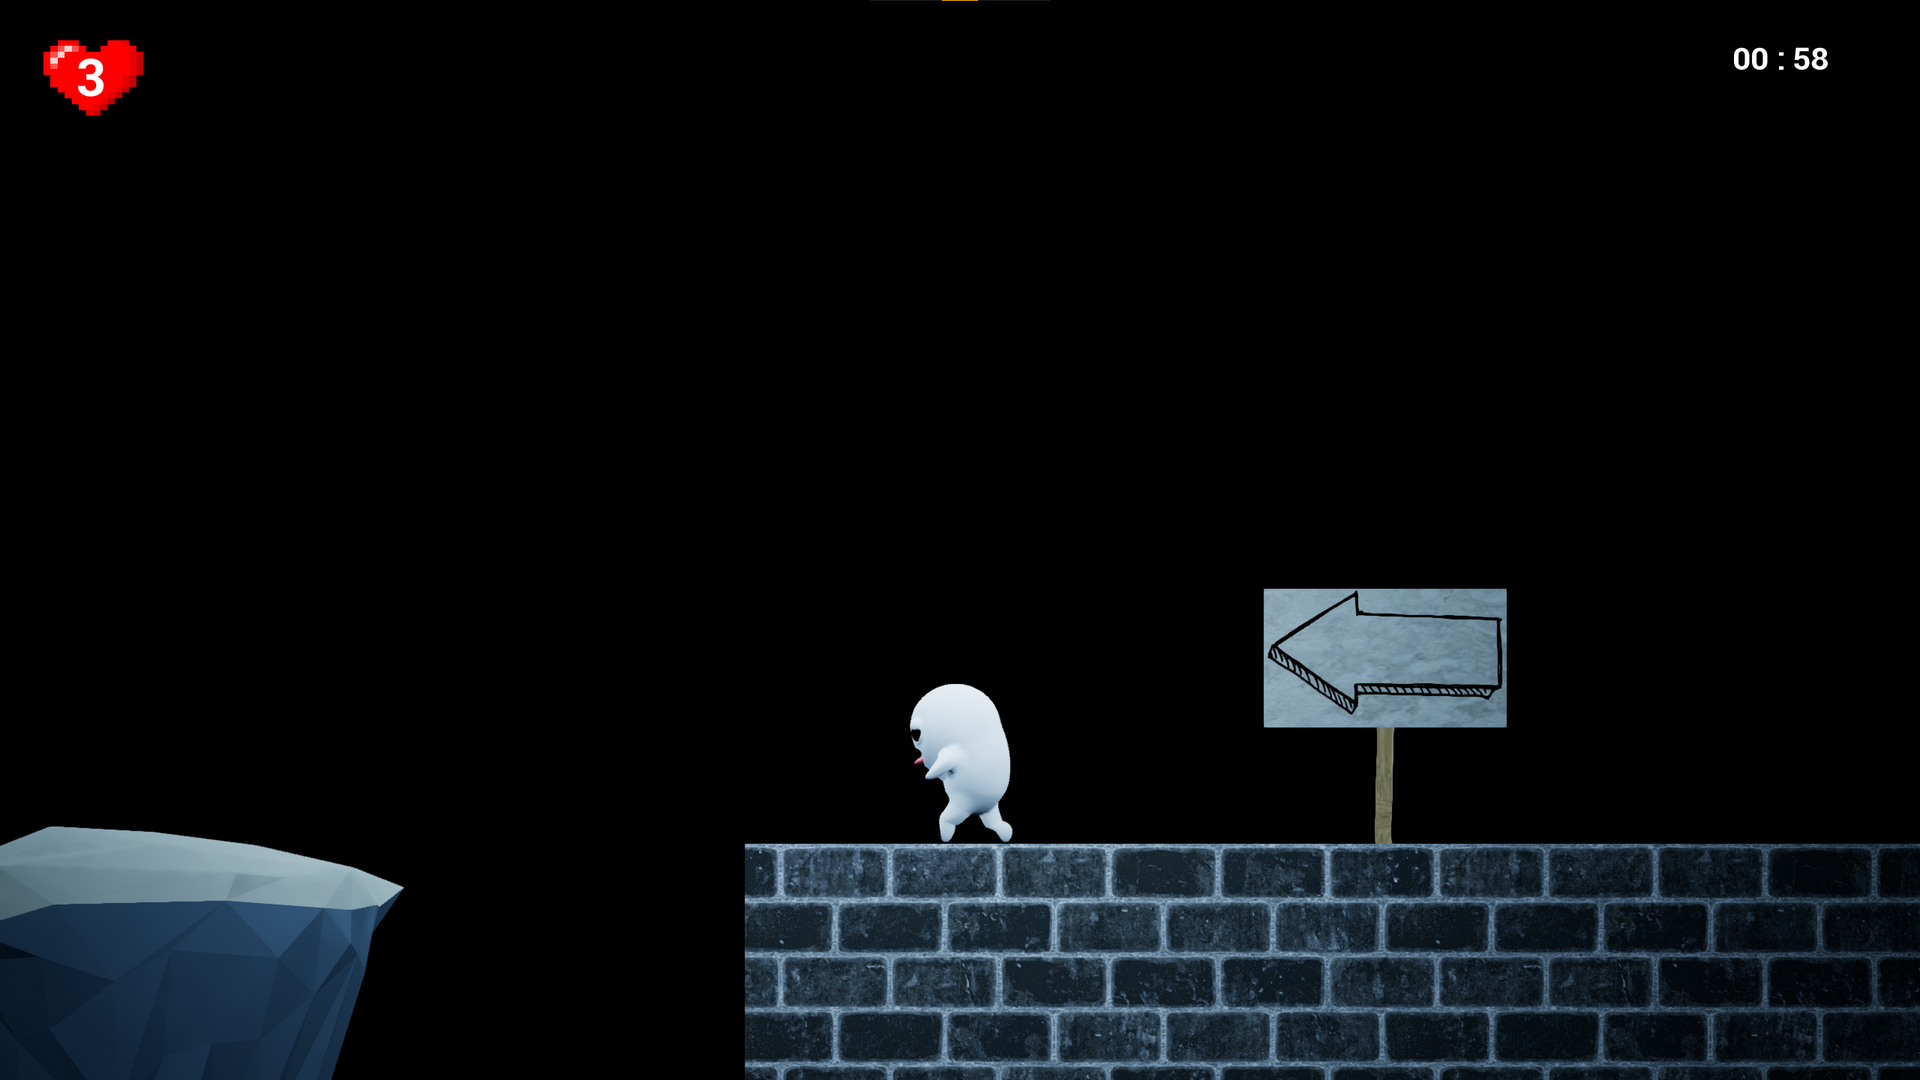
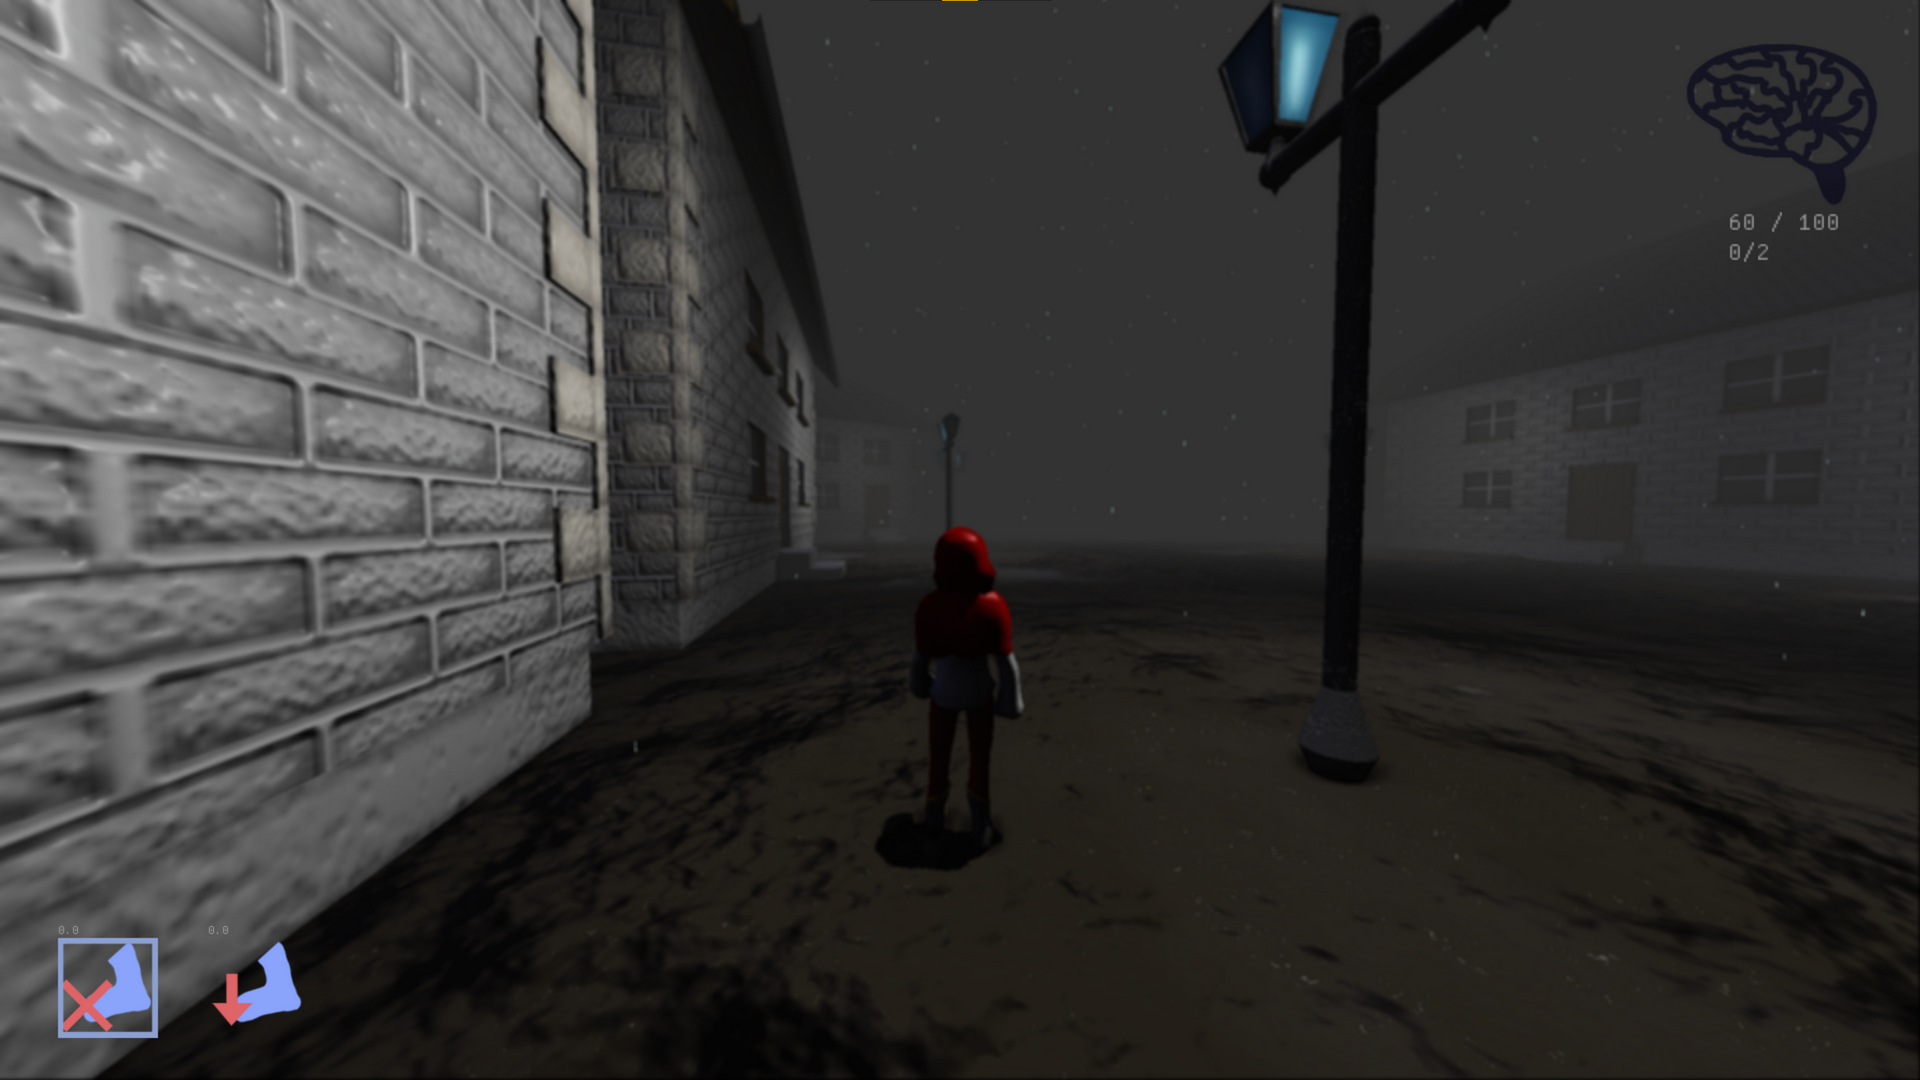
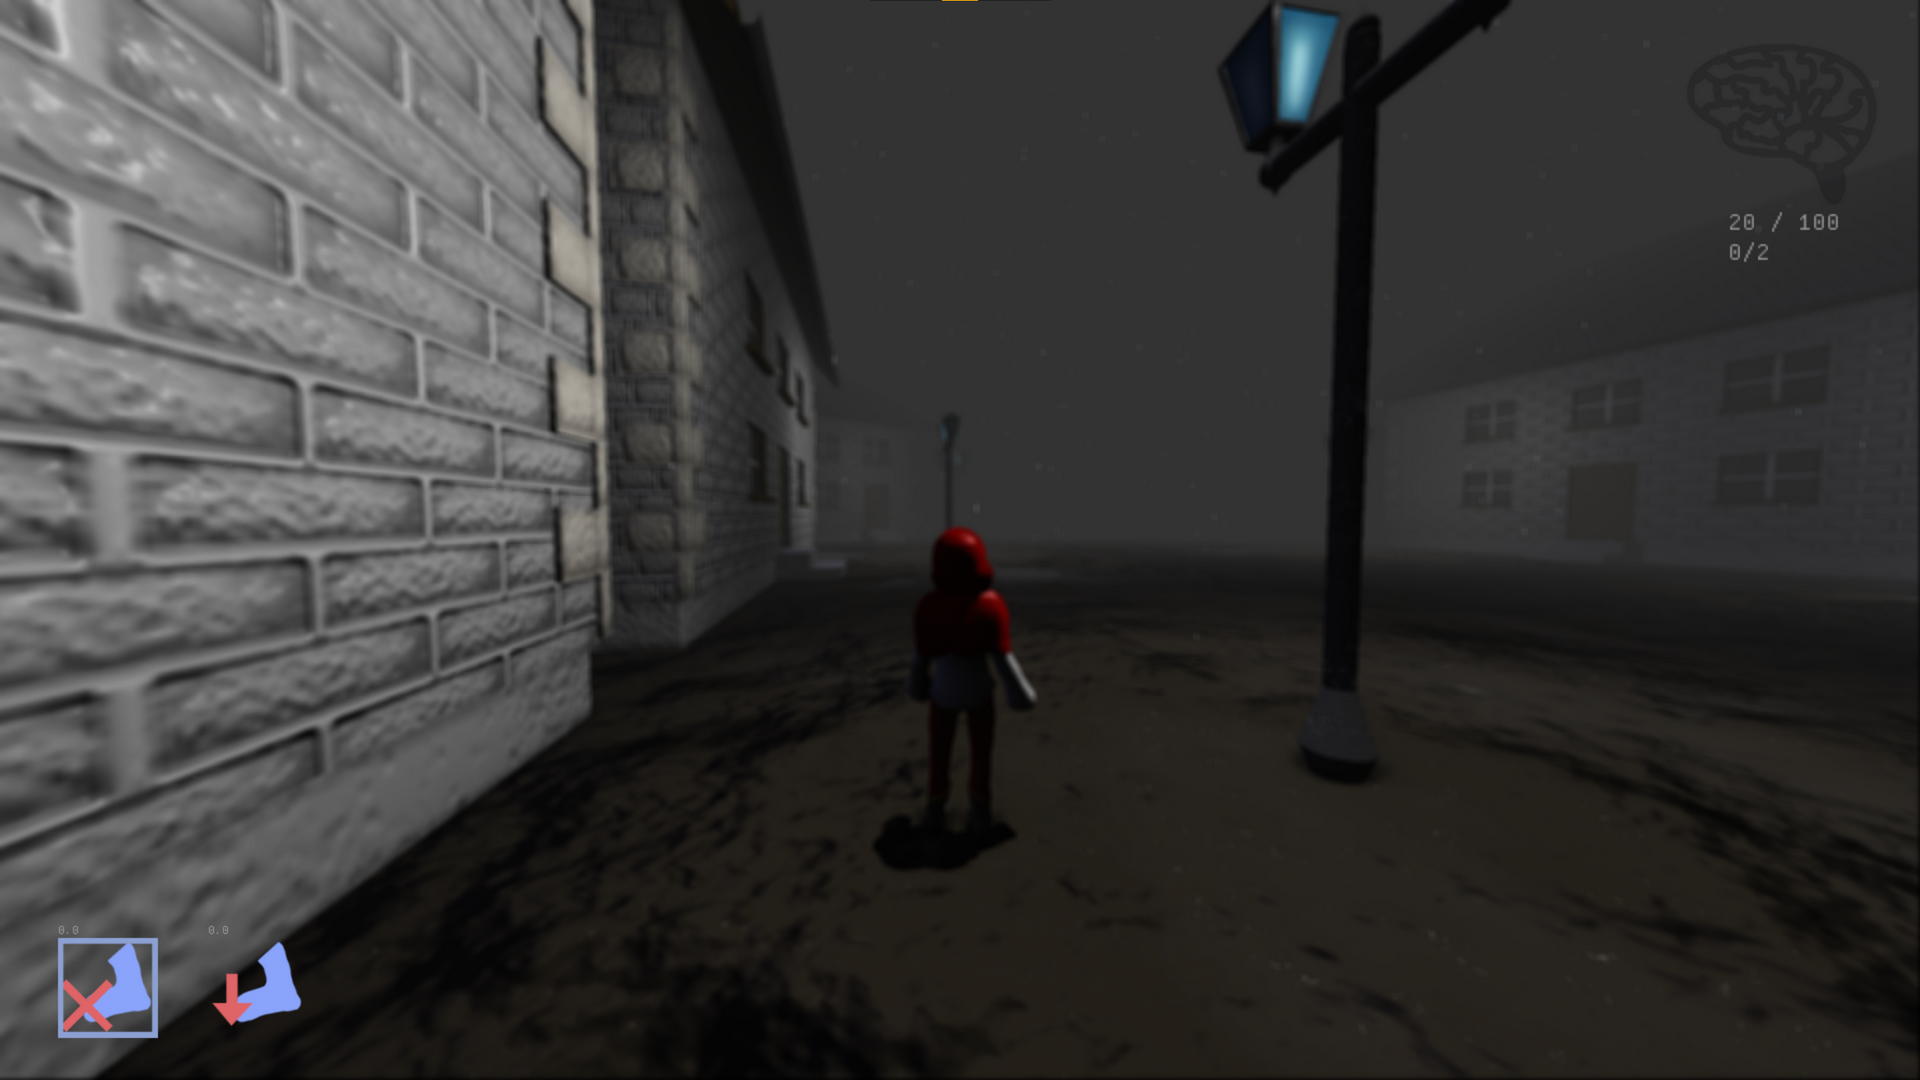
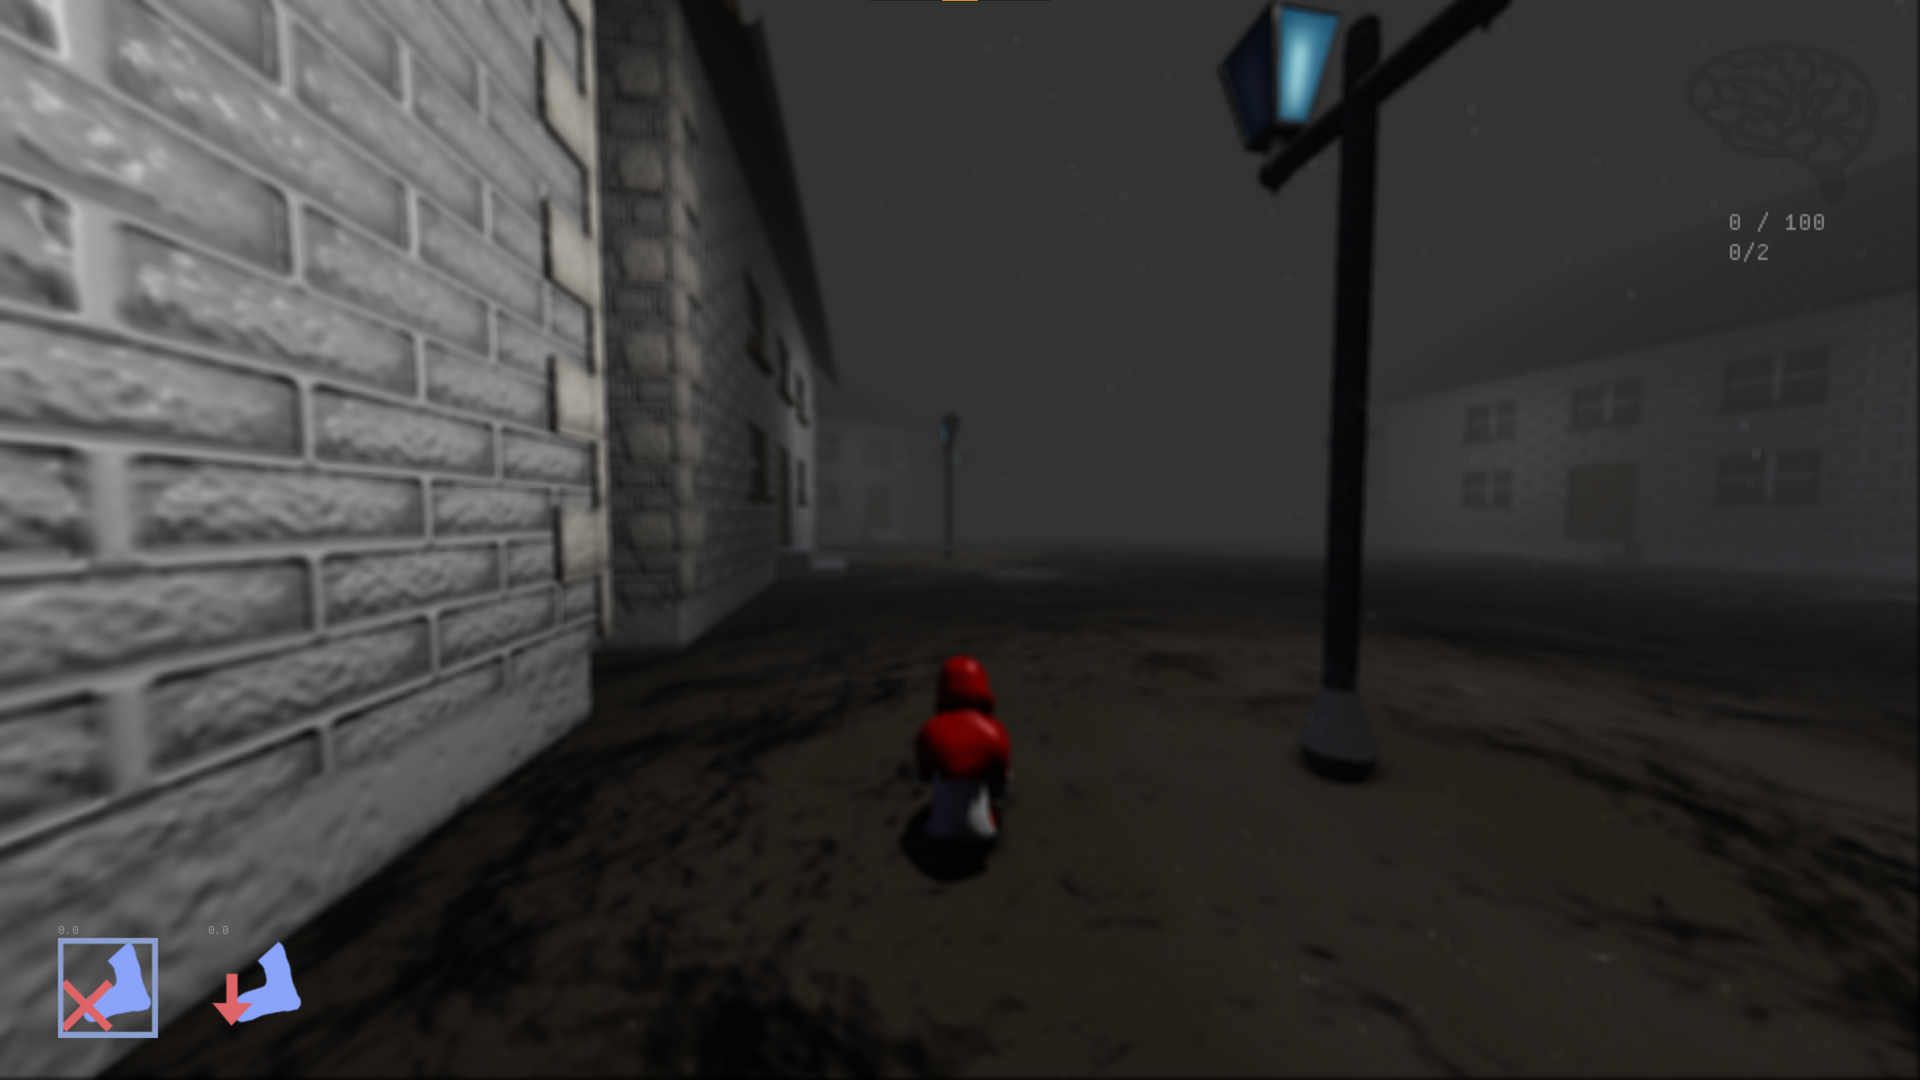
Almost like slender man but we collect memories and run away from a ghost!